
Photographing Bands: Drummer
Lately I've been doing more and more band photos and I was asked by a couple people to write how I went about taking those photos. So by popular request, here it is. My thoughts on photographing bands. First post, the drummer. And I have to be honest, I'm starting with the hardest one to shoot.
Things to Keep in Mind
One might think that photographing a singer (compared to a drummer) is a challenge because of how much they move. Singers tend to move around a lot, making it hard to freeze them. But I would argue that photographing a drummer is even harder, simply because they don't move from their seat. You have to use the lighting, their facial expressions, & their movements to give the photo emotion. Otherwise... it's a snapshot. Other things to keep in mind are:
- EARMUFFS: It goes without saying, but drums get loud. This is something to keep in mind if you want to do this full time. Always bring a good pair of earmuffs or earplugs (or both) to protect your ears from the drums.
- Make sure the Drumstick isn't in their Face: This is pretty important because of the simple fact that people look for people. And if they don't see the face, the photo loses some emotion.
- Photograph them in their Environment: If you were to see a person just sitting and waving sticks around, you'd probably either walk the other direction or call the police. Make sure to get the drums in the photograph.
- Introduce Some Motion: As you'll see in a minute, sometimes you don't want to freeze the motion. Introducing some blur could be beneficial to the photo.
Keep in mind these tips are what I've learned from photographing drummers. They're not fact, but if they help you take a better photo, then I'm happy I could be of help to you.
Live Performance
This was taken @ 1/400's, and notice the motion blur on the right drumstick. Click to see a larger version of the photo.
Back in January, I had the privilege to photograph BloodTypeG (check out my post about it here) at BRFC (Breaking Records For Charities). While this was my first live concert I shot, I wasn't 100% clueless to what was going on. Since drummers play fast, I needed to be at a fast shutter speed. At first, I was shooting between 1/400's - 1/1000's. This was enough to completely freeze Gustin (the drummer) in mid-air. But after shooting for a bit, I thought perhaps I should shoot at a slower shutter speed. I dropped the ISO (from 320 to 160) and dropped the shutter speed from 1/1000's to between 1/250's - 1/400's. This brought some motion blur into the mix and made for a much more dynamic shot. Plus it allowed me to close the Iris down and get more in focus.
Band Practice
Band practice is so much fun. You get to see the band as they are, not as they appear to be on stage, and that makes for some awesome candids. And sometimes, you can even direct the photos a little. For example, I was planning on taking an overhead photograph of my buddy Zack playing the drums. But after positioning the flash, I was getting shots like this (different drummer):
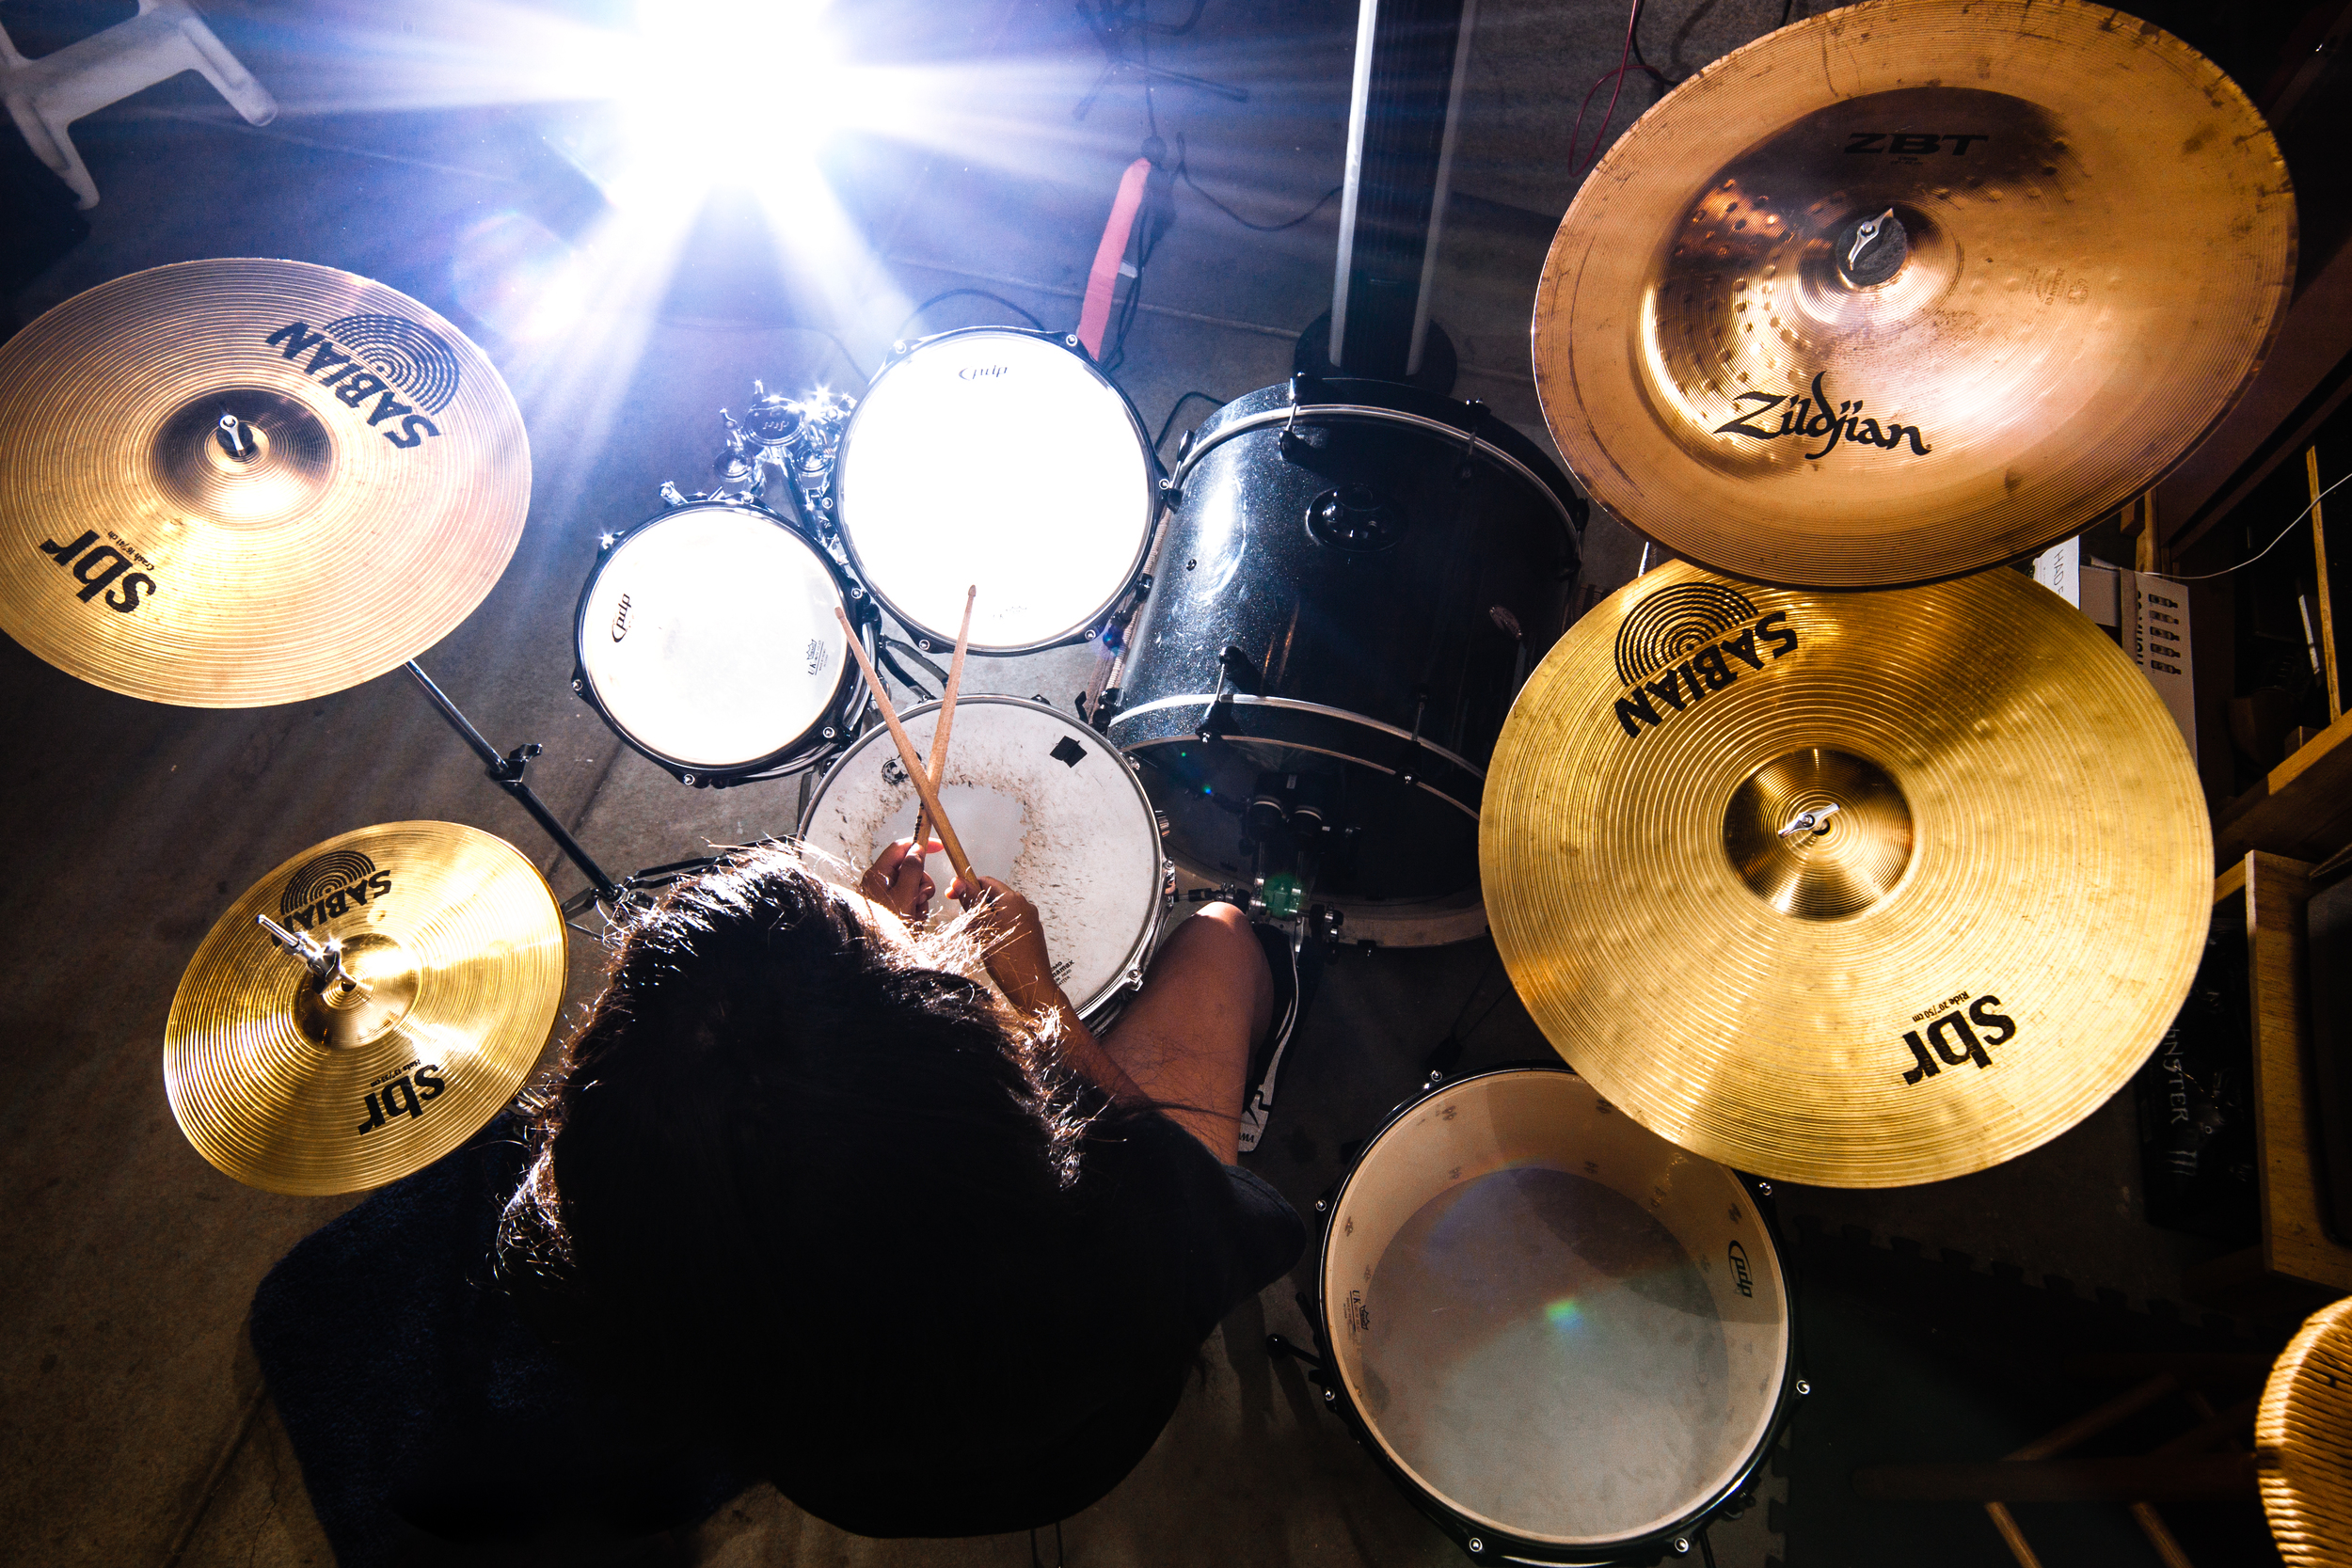
Awesome photograph, but I wanted something different. Fortunately for me, this was my lucky day. Why do you ask? Because just as I pointed the camera down, Zack looked up:

I can honestly tell you, this is my best band photo that I have taken so far. Don't know what it is about it, but it's literally awesome!
To sum up, photographing drummers can be extremely difficult. But with enough patience, creativity, and a good pair of earmuffs, your drum shots will improve. Next week, I'm going over how I would photograph singers. Until then, take care. :-D